Have you ever wanted a streamlined piece of equipment that caters to all your analogue and digital testing needs? Better yet, did you wish it was small and light enough to fit in your backpack? Digilent’s Analog Discovery series has you covered.
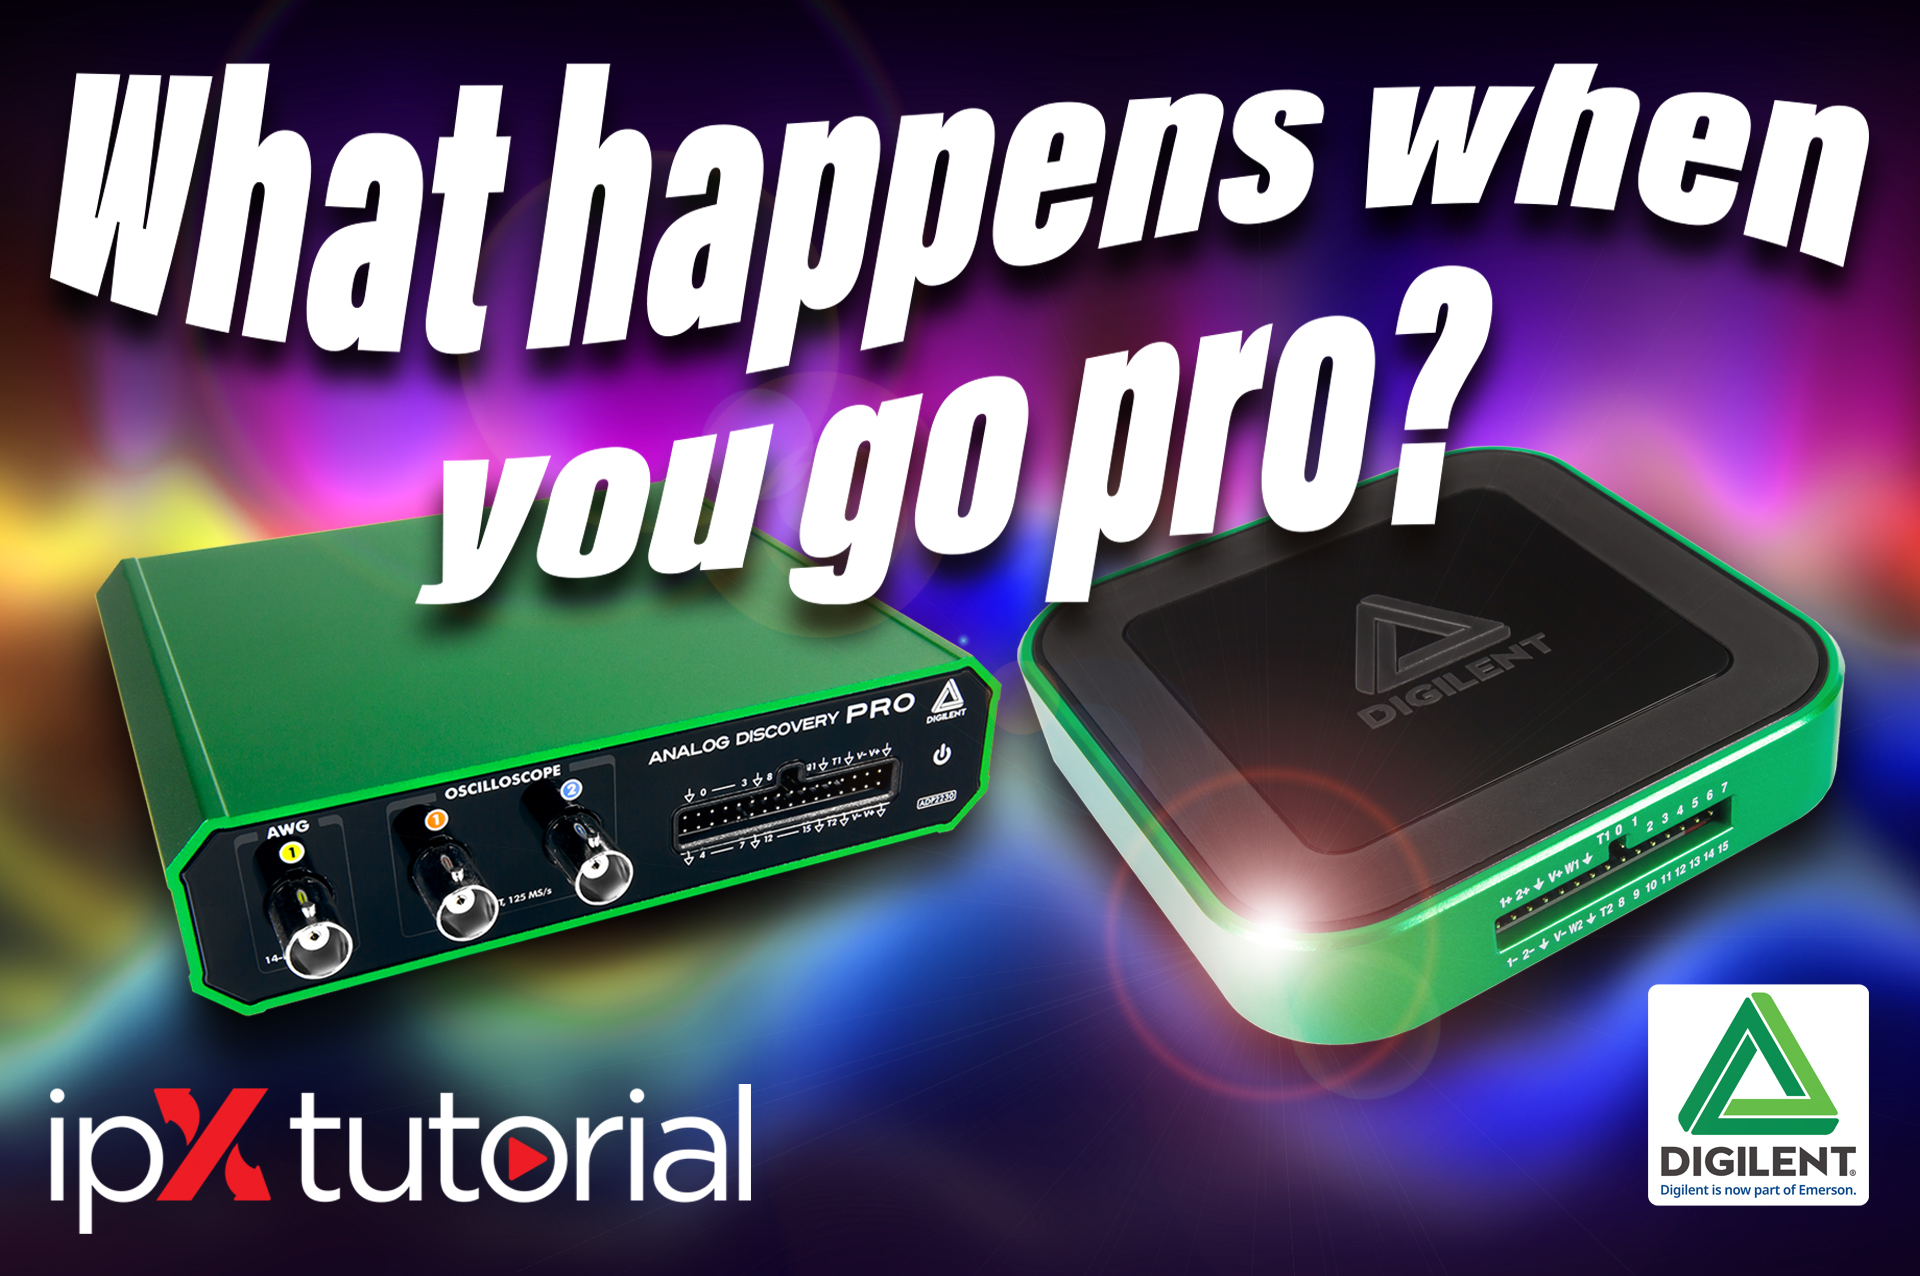
In another exciting ipX Tutorial, Eamon chats with Arthur from Digilent for a comparison of two highly integrated test-and-measurement platforms: the Analog Discovery 3 (AD3) and the Analog Discovery Pro ADP2230. Arthur also gives us a demo which showcases the functionality of both devices in a typical embedded testing application. As you will see, there’s definitely a difference when you go pro!
What is Digilent’s Analog Discovery series?
In the simplest terms, Digilent’s Analog Discovery series presents designers with a lab’s worth of test-and-measurement equipment in a portable plug-and-play format. A computer is used to view, record, analyse, or generate signals via the USB connection. Once you have an Analog Discovery (3) on your desk, Digilent’s WaveForms application software grants immediate access to the following instruments and tools:
- Oscilloscope
- Arbitrary Waveform Generator (AWG)
- Power supplies (0.5 V to 5 V, -0.5 V to -5 V)
- Voltmeter
- Data logger
- Logic analyser
- Pattern generator
- Static I/O
- Spectrum analyser
- Network analyser
- Impedance analyser
- Protocol analyser
Using the WaveForms SDK, engineers can develop their own custom applications in common programming languages like Python, C, C++, and more. With a background in the academic space, the Analog Discovery series also supports interfacing with LabVIEW and MATLAB for real-time experiment control and analysis.
In short, the Analog Discovery series is so much more than a test-and-measurement platform. By using it as a permanently installed tool within an application, you can use the many I/Os to control and automate workflows.
What happens when you go Pro?
In this discussion, Arthur shows us the Analog Discovery 3 and the Analog Discovery Pro ADP2230 and provides a comparison between the two, both in terms of spec and in practice.
On the face of it, the Analog Discovery 3 has a palm-sized plastic construction with a 30-pin header on the front. This allows for breadboard-style connections to other equipment via a flywire breakout cable. Digilent also makes expanders which connect to this header for application-specific testing, such as audio, transistor, or power testing.

In contrast, the Analog Discovery Pro ADP2230 comes in a rugged 134.2 x 144.0 x 37.9-mm aluminium case with a 32-pin header and three BNC connectors. These enable a more traditional, higher-bandwidth scope connection to the two input channels and single AWG output. This is the simplest model in the Analog Discovery Pro range. In addition to the tools outlined above, the ADP2230 also grants immediate access to a curve tracer and a script editor in WaveForms.
For reference, both devices also have a USB-C connector on the back, and a 5-V DC input jack for boosting the current of the power supply up to 800 mA (1 A for the Pro). The Pro also operates at USB-3.0 speeds for reasons that will quickly become apparent…
But aside from these cosmetic differences, what is the main advantage of choosing the Pro model over the already impressive AD3?
A much larger data buffer…
We could dive super deep into every little spec difference between the AD3 and ADP2230, but that wasn’t the point of this comparison. We want to see the performance differences.
Both the Analog Discovery 3 and the ADP2230 feature two input channels with 14-bit resolution at up to 125 Msps (per channel) for voltages between -25 V and +25 V. The key difference between these inputs is that the bandwidth for the AD3 is just over 30 MHz, using a BNC adaptor board, whereas the ADP2230 has an out-of-the-box bandwidth of over 50 MHz.
The ADP2230 also has an input memory buffer of up to 256 megasamples per channel. When compared to the 32-kilosample buffer of the AD3, this changes the game for large data acquisition tasks…
The demo explained
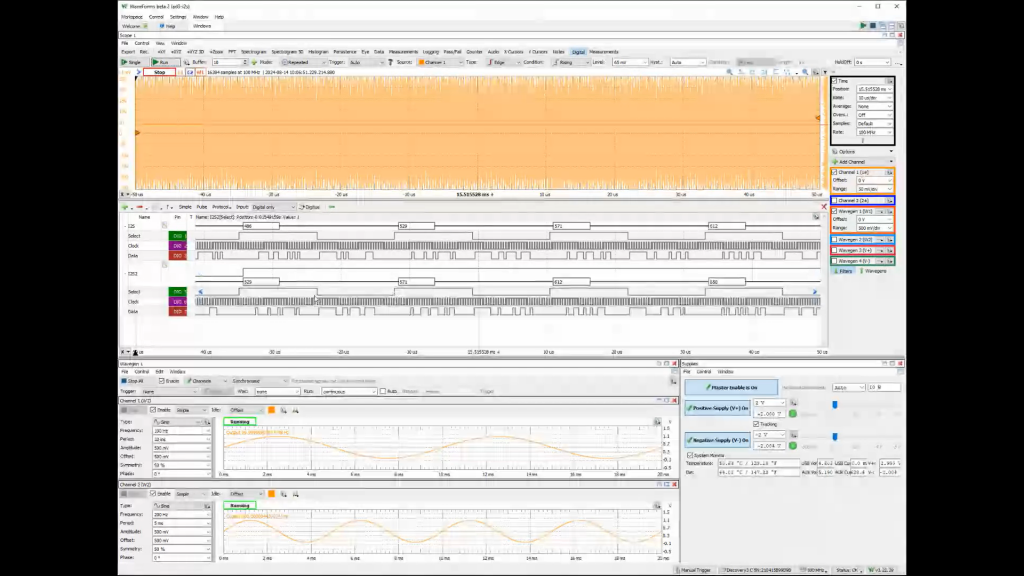
In Arthur’s first demo, he shows the power supply, waveform generating, and sampling capabilities of the Analog Discovery 3 in conjunction with an FPGA board, an audio adaptor board, and an ADC/DAC device. The AD3 is generating audio data that is being fed through the FPGA board for processing before being recaptured by one of the AD3 inputs. The AD3 is also supplying power to the audio adaptor board and sampling the digital I2S signals from a test-point header.

In the WaveForms software environment, we can see both the generated and processed audio, as well as the left and right audio channels for the I2S digital interface. Arthur shows us how easy it is to monitor the digital processes or perform a Fast Fourier Transform (FFT) on the audio input to see the signal in frequency space. This is all very good – and only took 20 minutes to set up – but when we switch to the Analog Discovery Pro ADP2230, we see a marked difference.
Switching to the ADP2230
In Arthur’s second demo, he switches the audio output from the AD3 and data monitoring outputs for the I2S interface to go to the higher-spec inputs of the ADP2230 – the AD3 is still running the show from a power and signal generation perspective.
Now we see so much more detail as the larger memory buffer allows us to capture so much more data in a single acquisition. It also allows us to see more detailed audio traces for the same waveform period – we don’t need to always be sampling at the maximum rate.
The result is that we can sample more data at a time and gain more information within our measurement window. For the audio signals, we can now see errors in processing and even the sampling rate harmonics on the FFT.
For the digital signals, we gain a much more detailed understanding of every I2S data packet. The buffer is even large enough to record and debug a complete processor boot sequence in one take if need be.
Which Analog Discovery is right for you?
As you can see from the demo, both the AD3 and ADP2230 are great pieces of kit. If you’re willing to pay around double the price of the AD3, the ADP2230 grants you access to another level of data capture, which could be useful for your application. This is especially true if you need a more rugged piece of equipment with standardised analogue signal I/Os.
But, if you’re mostly looking for measurement tools and need a very compact solution for the task, perhaps you can save yourself a few hundred dollars with the Analog Discovery 3. You’ll even get a second 14-bit AWG. As with the ADP2230, this runs at up to 125 Msps per channel for waveforms between -5 V and 5 V. As the most basic of the pro models, however, the ADP2230 only has one! If you need two, go for the AD3 or another model in the pro line if you need that huge sampling buffer.
We know that you’re a professional design engineer, or you’re living in the pro space, so check out our writeup of the ADP2230 by following the link to the board page below. If you want to learn more, or you’re considering ordering a load of Analog Discovery units for a commercial or academic project, fill out the form, and ipXchange will put you in touch with Digilent for best pricing.
Keep designing!
You must be signed in to post a comment.

Comments
No comments yet