
Products
Manufacturers
Solutions
Published
5 October 2026
Written by Jake Morris
Connect with Jake Morris on LinkedIn
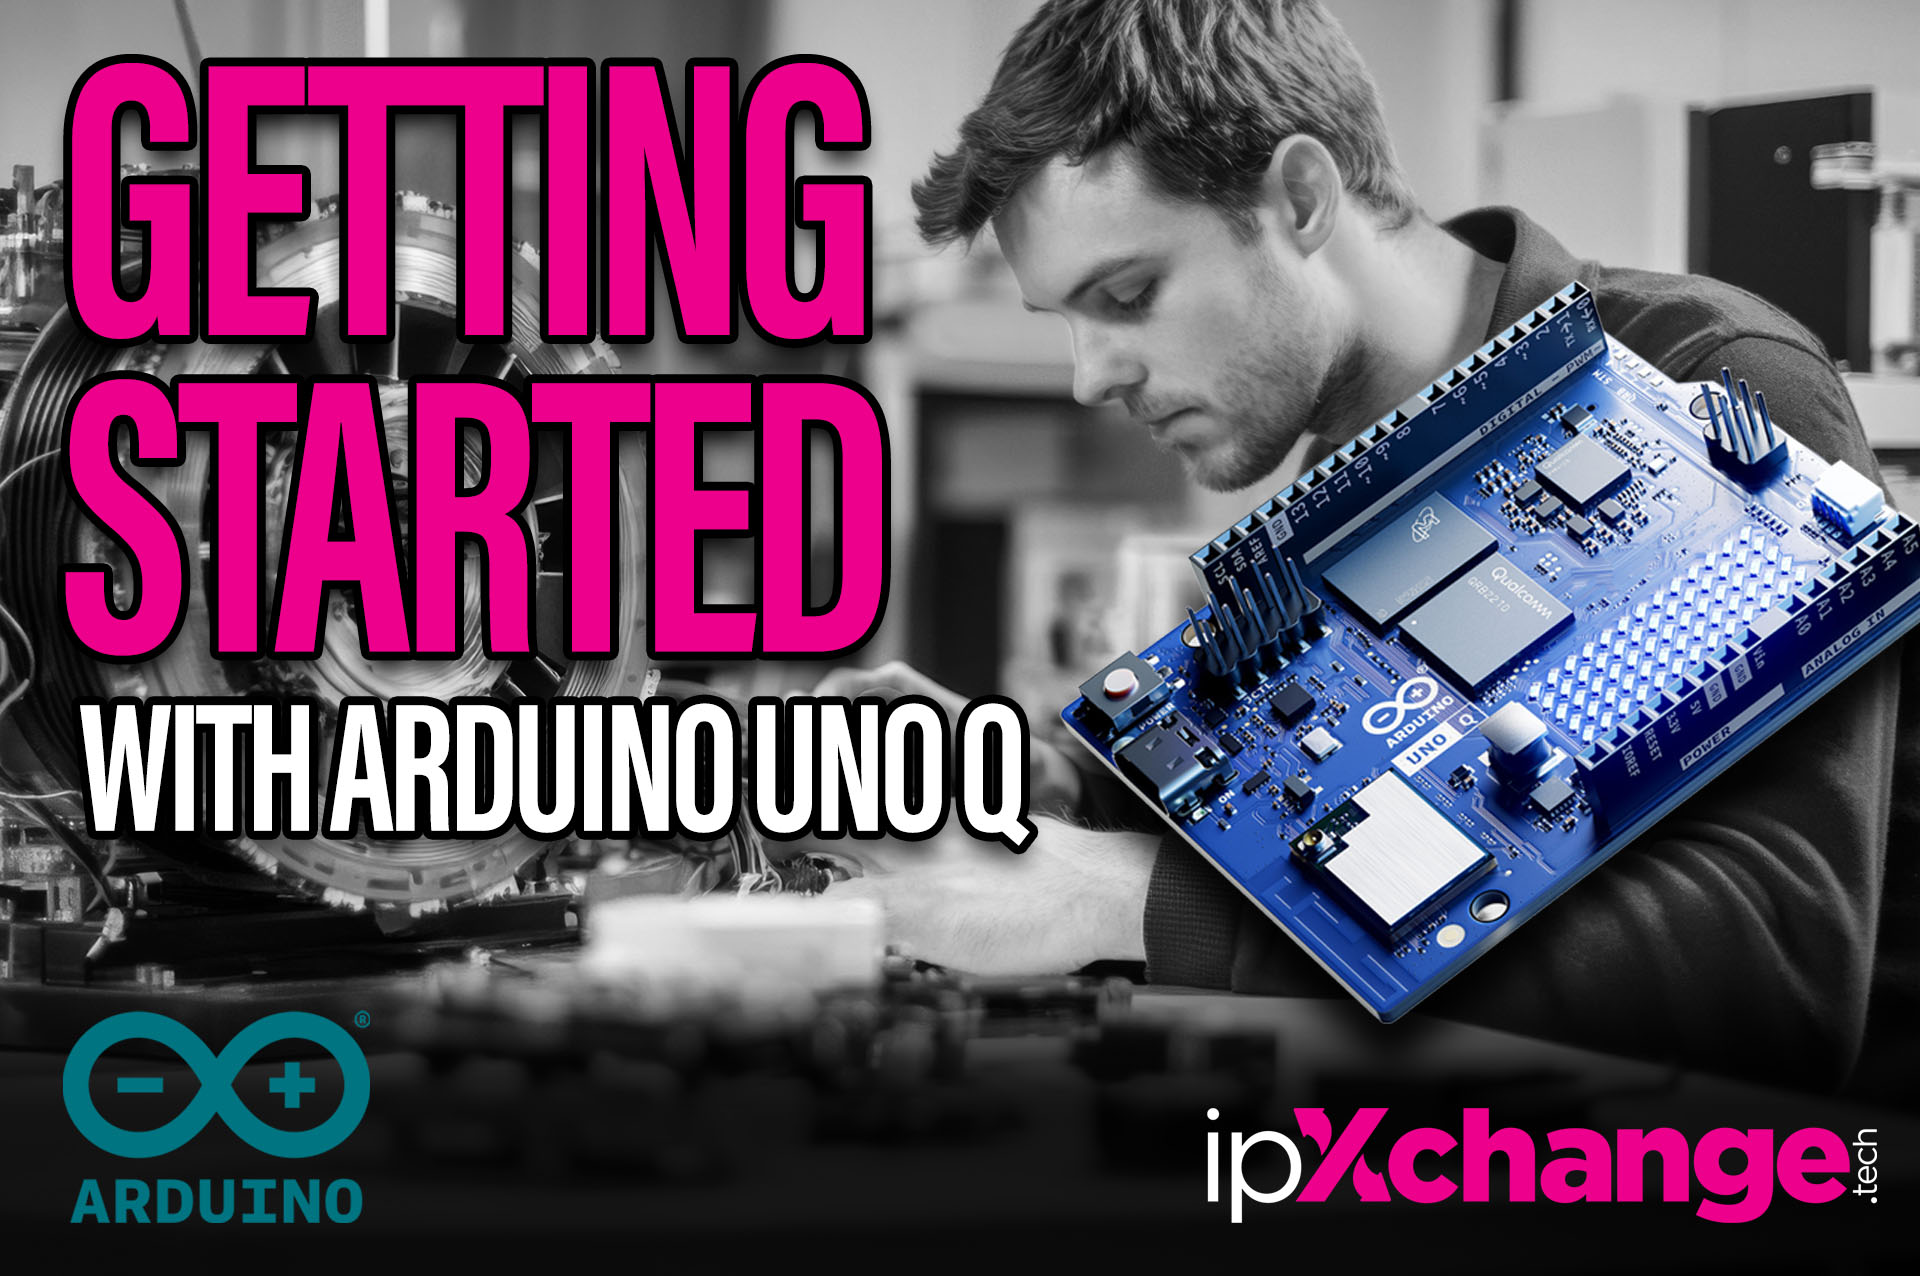
In this tutorial, we take the Arduino UNO Q from the box through initial configuration in Arduino App Lab, then deploy a working application that uses both sides of the board’s dual-processor architecture. We show the setup process, explain how App Lab projects are structured, and demonstrate how Python and Arduino sketch work together.
Setting up the UNO Q
The first step is installing Arduino App Lab and connecting the UNO Q over USB-C to your host device.
Once the board has booted, App Lab detects it and guides you through the initial configuration. This includes checking firmware, selecting regional settings, connecting the board to Wi-Fi, creating Linux login credentials and installing any available updates.
After setup, the main App Lab interface provides access to applications, examples, configuration tools, tutorials and reusable software components called Bricks.
Working with App Lab Bricks
Bricks are pre-built software components that can be added to an application instead of implementing common functionality from scratch.
Each Brick includes documentation, examples and Application Programming Interface (API) information. In the video specifically, we look at the WebUI Brick.
Bricks can be modified, so engineers retain control over how each component behaves inside the final application.
Running the UNO Q remotely
Once connected to the same network, App Lab can communicate with the Arduino UNO Q remotely. This allows the board to operate as a standalone single-board computer (SBC) while peripherals such as cameras are connected directly to it, making the development setup considerably more flexible.
Building a dual-processor application
To demonstrate this, we use Arduino’s Blink LED with UI example.
The application is divided into two parts:
- Python runs on the Qualcomm processor and handles the web interface and main application logic.
- Arduino sketch runs on the STM32 microcontroller and controls the physical LED.
Communication between the two sides is handled by Arduino Bridge, using Remote Procedure Calls (RPC).
The Python code can request an operation, such as changing the LED state, while the Arduino sketch exposes the corresponding function on the microcontroller side.
Deploying and testing the application
When the application is launched, App Lab creates the runtime environment on the UNO Q and starts the web interface.
Pressing the button in the browser sends a command through the application, across Arduino Bridge, and into the sketch, which changes the LED state.
Thi is a simple example, but it demonstrates the core workflow: higher-level application logic on the Linux side and deterministic hardware control on the microcontroller side. From there, the same structure can be extended into more complex applications such as machine vision, predictive maintenance, sensor processing and connected control systems.
Watch the full tutorial to follow the setup and deployment process step by step.
Comments are closed.
Comments
No comments yet