Products
Manufacturers
Applications
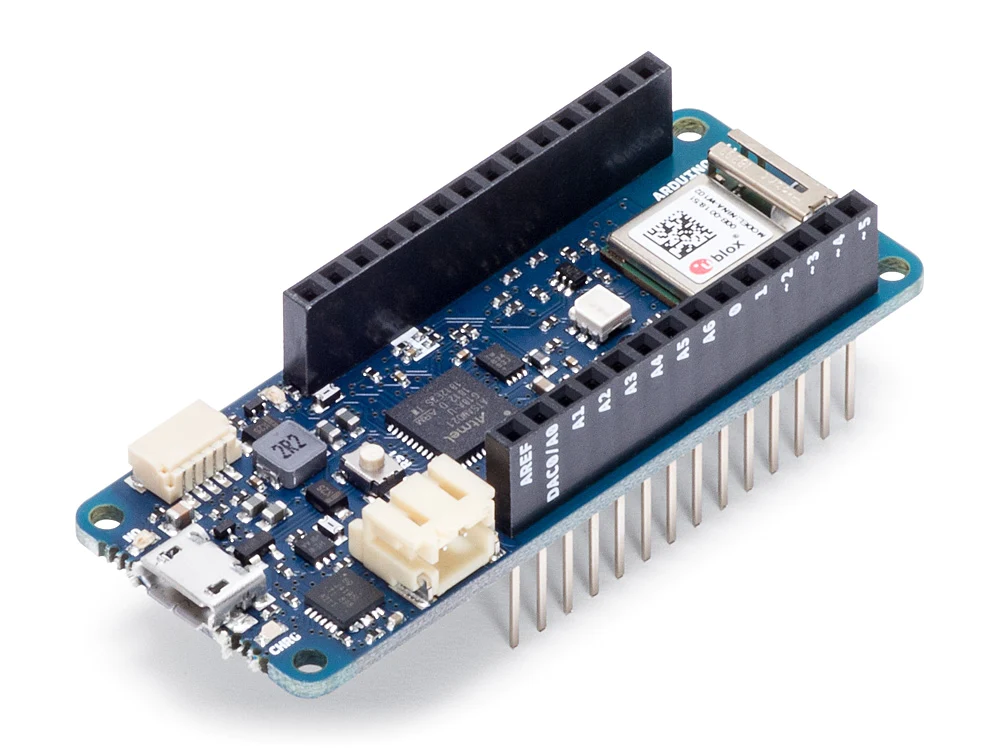
Arduino’s MKR WiFi 1010 provides designers with an easy way to integrate WiFi and Bluetooth connectivity into larger projects, thanks to the Arduino programming ecosystem and compact 61.5 x 25 mm MKR form factor. This board features pin headers for easy connection to external systems, and a battery connector and on-board charging circuit to support power via a 3.7-V Li-Po single-cell rechargeable battery (1024 mAh minimum capacity). It can also be powered via 5 V applied through the USB connector or VIN pin. Applications include smart-home, consumer, and IoT devices.
The two hearts of the MKR WiFi 1010 are the Microchip SAMD21 32-bit Cortex-M0+ low-power MCU – running at up to 48 MHz and supported by 256 kB flash and 32 kB SRAM – and the u-blox NINA-W102 radio module, which supports connectivity to home/public WiFi networks and commonly used cloud services that include Arduino IoT Cloud, Blynk, IFTTT, AWS IoT Core, Azure, and Firebase. A secure element (ATECC508) is also included on the board to protect your IoT from external threats.
The pinout for the Arduino MKR WiFi 1010 can be found in the diagram below:

With a circuit operating voltage of 3.3 V, this board features the following interfaces with a DC current per I/O pin of 7 mA:
- 22x digital I/O pins (15 dedicated)
- 13x PWM pins
- 7x analogue inputs with 8-, 10-, or 12-bit ADC
- 1x analogue output via 10-bit DAC
- UART, SPI, and I2C interfaces, with an additional I2C port
- 10x external interrupts
- Power, user, and charging LEDs
For more information about this board, please consult the official datasheet.
If you would like to evaluate the MKR WiFi 1010 board for use in a commercial project, fill out the form below, and ipXchange will facilitate evaluation through our official partnership with Arduino.
NOTE: Since the MKR WiFi 1010 is a dual-processor device, hacking the firmware of the u-blox module enables dual WiFi and Bluetooth use, as well as running the most basic Linux operating systems on this module while the MCU serves low-level control workloads. Doing this will void the certification/warranty of the board, so this is done at the user’s own risk though Arduino provides code examples if this functionality is desired.
(Images sourced from Arduino)
